Jeepers Creepers wins a Domie at Domefest 2012

August 6, 2012

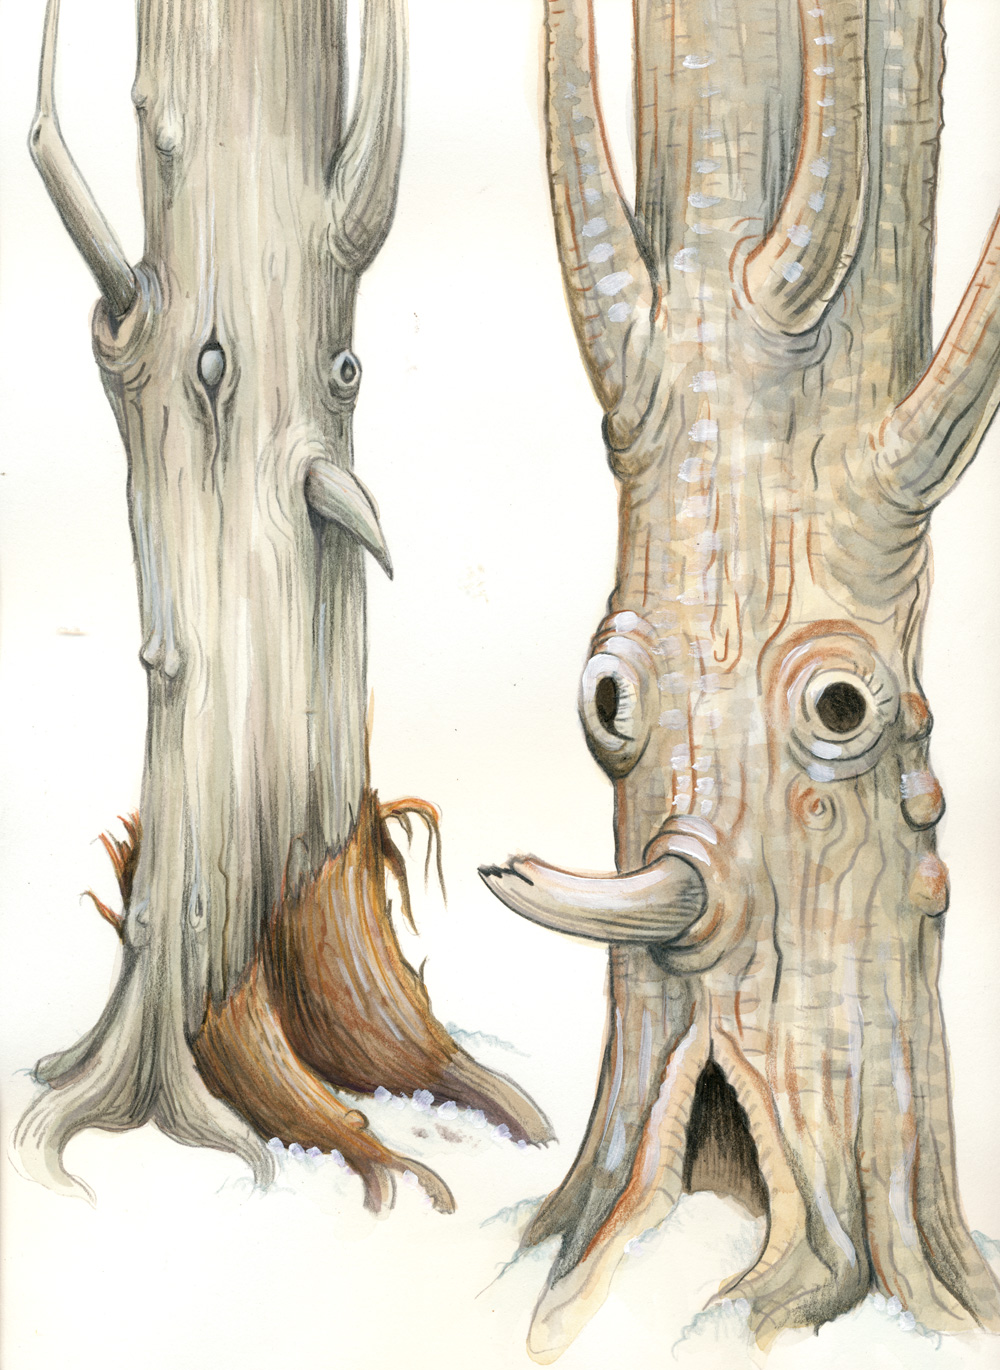
Morehead Planetarium & Science Center won our first Domie Award (for Design) last week in Baton Rouge at Domefest 2012 for our short, Jeepers Creepers. Here’s the list of all the finalists:

http://www.domefest.org/2012-domie-awards/

 
Here’s all of the finalists:
 

DomeFest 2012 from DomeFest on Vimeo.

 
Thanks to David Beining and everyone else involved to put this year’s fest together.

Our Evolution of Storyboarding

May 9, 2012

When our current team solidified at the very beginning of Morehead Production, we came from very different backgrounds. Jay, a designer and journalist; Pete, a motion graphics and compositor; and myself an animator. The one thing we did all had in common however was we had never done dome work. We have since learned from our mistakes starting out, and taken new steps to refining our processes to making dome shows. Among those changes has been our storyboarding.

Earth, Moon, and Sun

This was our first show that we made, so our storyboards are closer to those for flat screens than domes. We saw there was a challenge of how to draw a storyboard accurately for the dome and tried to illustrate it, however once production and animation started it was clear the boards were very limited and ultimately not very useful.

Magic Tree House

Our second show, Magic Tree House, is an adaptation of the original analog show we had here at Morehead Planetarium. With the Zeiss’ retirement drawing closer, we were tasked to make a digital version of this show. Although nearly every scene was simply updated with better visuals, there was a sequence which we were able to re-imagine. This is where we thought to introduce the idea of drawing the storyboards in the dome itself. We found it was very successful, and there were no surprises when it came time for actual production because the composition of what you saw in the storyboards could translate directly to what we’d do in production. It took a little getting used to drawing with the distortion, but it was ultimately worth it.

Solar System Odyssey

After the success of storyboarding in the dome for Magic Tree House, it made the most sense to continue that practice with Solar System Odyssey. A challenge presented itself however, which was the element of a character driven show. In all our previous productions, there were either a small appearance of one character, or no characters at all. Solar System Odyssey had a staggering three characters on screen at nearly all times. It was because of this that we had to think and draw not only where the characters are on the screen, but also where the camera is going to give the best staging direction for our characters. This was where we introduced the idea of our ‘dance chart’, which we would make for each scene with characters. I also called it the Law and Order effect (in respect to one of my favorite shows on television).

The Longest Night

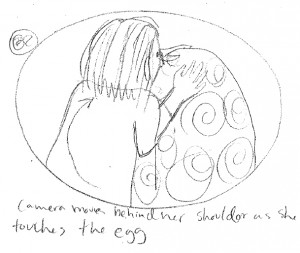
Advances and evolutions we’ve been making in storyboard development took a strange turn for this show, The Longest Night. Not only was it to be our first show with significant amounts of live action in it, but it would be a collaboration between us and Paperhand Puppet Intervention. There were plenty of challenges already with storyboarding a hybrid of live action and digital environments, but added to that is taking the script and boards they drew and adapting it for the dome.

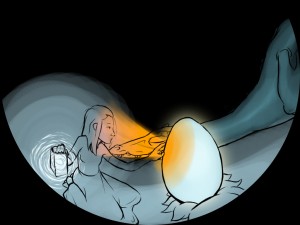
This is an example of one of the boards that Paperhand created before it was taken to the dome. We could get an idea of what was wanting to be seen, but we needed to be able to see it on the dome to get a better sense of scale and placement of the characters and environments. Using what we learned from shows in the past and adapting the dance chart to include ‘real world’ camera and ‘digital’ camera placement, we came up with an example seen here.

As I said in the title, this is our evolution of storyboarding. There will never be an end to the changes we make in our process as we learn and grow in the dome field. We will just keep applying and adapting what we have learned in the past to our work in the future.

Collaborating with the non-digital

May 4, 2012

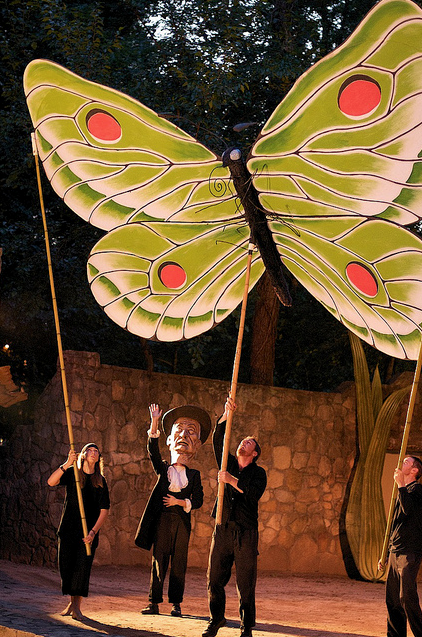
In the first four fulldome shows that Morehead produced, we didn’t have to do much collaboration with outside groups. We’d sometimes contract out a writer or the composer, but for the most part, our productions were created almost completely in-house. That all changed when we met with Donovan Zimmerman from Paperhand Puppet Intervention and decided to collaborate on our newest show in production, The Longest Night. Paperhand had been putting on stage performances in North Carolina for over 10 years and we loved their style, aesthetic and message. But collaborating with a completely non-digital group presented some challenges.

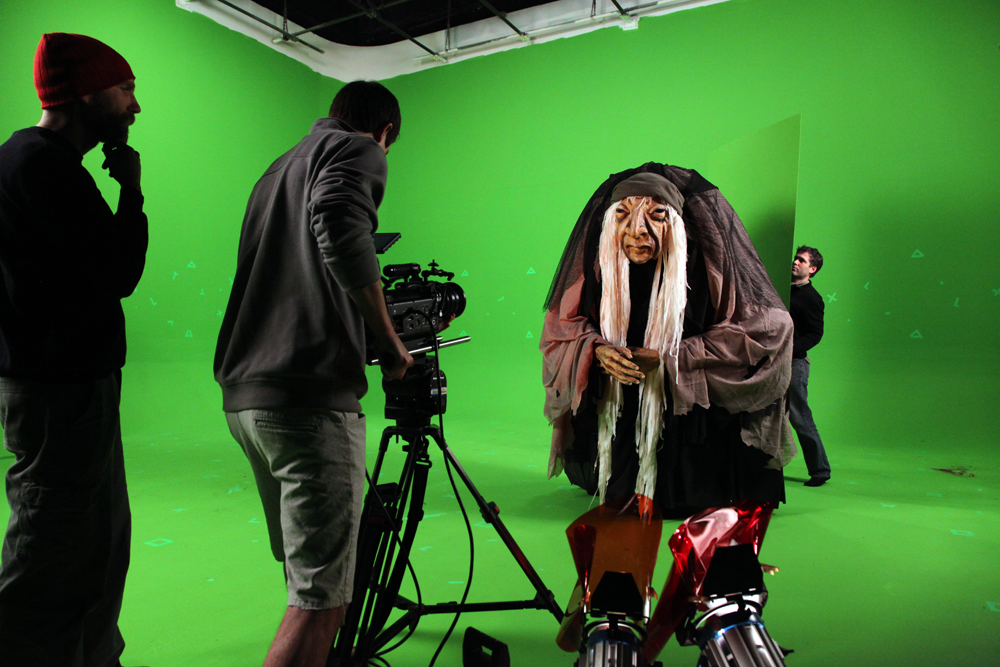
The basic plan was for Paperhand to write the script, we’d take it and produce storyboards and pre-viz. After that we’d shoot live action of Paperhand’s giant puppets on green screen, do the digital production and finally, Paperhand would score the show. Every step of the way we’d make sure to COLLABORATE, meaning that we weren’t just dividing up the tasks, but we were bouncing ideas off each other and making sure we were both happy every step of the way. Easier said than done.

The first challenge was that Paperhand had never been involved with a dome production. In fact, they’d never been involved with a film production of any of their shows. So we were starting from scratch. The first thing I like to do is to explain the basic steps in making a show:

1. Concept & Script

2. Storyboards & Concept Art

3. Animatics/Pre-Viz & Scratch Audio

4. Production (film and 3D) & Sound FX/V.O.

5. Music, Narration and Post

But another thing I like to show to newbies is this great video from Cirkus Productions out of New Zealand about the ABCs of the animation process.

Once we were fairly certain they wrapped their head around the basic process, we had to make sure that they understood the differences between STAGE, SCREEN and DOME productions. Luckily, in some ways, a dome production with live actors is actually more similar to a stage production than a film. It’s just that the stage surrounds the audience and we can move from scene to scene much more quickly.

As you know, you don’t cut on the dome like you do in a film. Instead, you need to draw the viewer’s eye to what is important using other techniques. Paperhand had plenty of experience working in that manner. So once we had convinced them that it wouldn’t work to cut to a close up of an object or character and got them back using their old school techniques, things worked much more smoothly. Oddly enough, this was one situation where the less “film” knowledge worked out to our advantage.

What they weren’t prepared for is the limitations of the color green when shooting on a green screen. It’s tough when you’ve been making puppets for 15 years with green in them for someone to tell you that you can’t use that color. If all else fails and they ended up having green on their puppets, we could have painted the room blue.

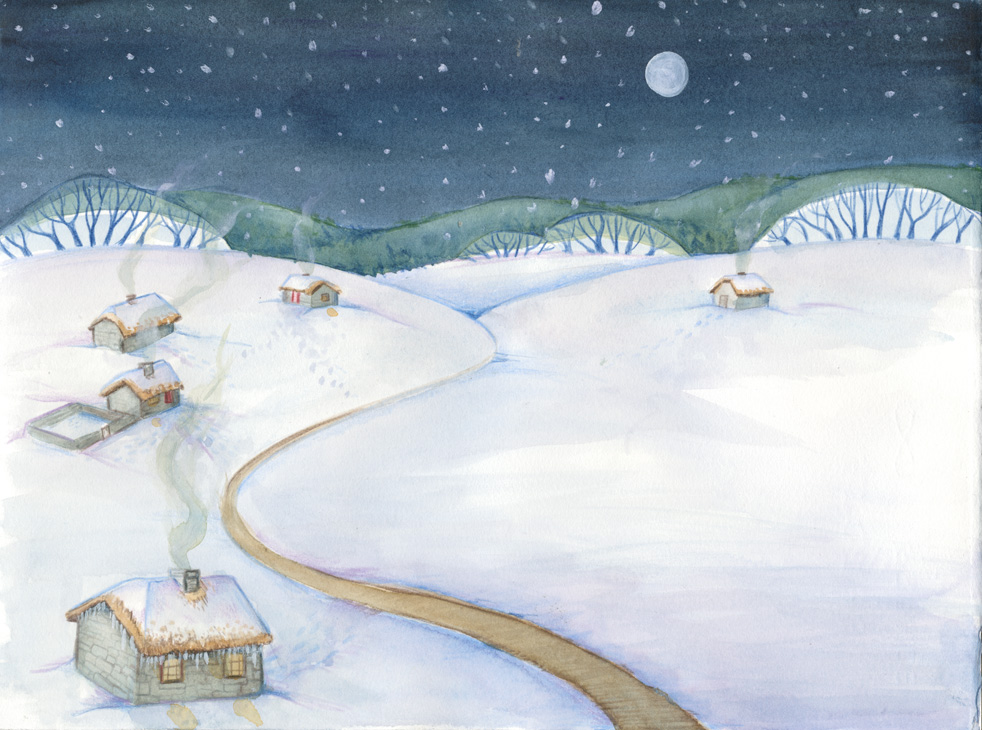
The next thing we had to explain to our new non-digital friends was the beauty of digital magic. At first, they assumed that when creating concept art or pieces for the production, they’d have to make them life sized. They also thought that if we needed 200 trees, they’d have to paint 200 trees. They were happy to hear about the copy and paste functions in After Effects. They were also happy to realize that we could tweak colors very easily in the system without them having to paint new versions. The great thing is that we ended up with a lot of fantastic concept art. Here are some examples:
Early Concepts of The Longest Night

May 1, 2012

Early on in the planning stages of “The Longest Night,” we realized there were going to be some big changes to how we approached production. Typically we work with animated CG characters and environments. We can dictate actions and are in charge of a camera that is essentially unlimited in its range of motion.

With this production we knew we were going to need to actually capture some performances and integrate that footage into some sort of environment. An example of what we thought would stylistically work with the look and feel of a typical Paperhand Puppet Intervention show is the Modest Mouse video “Float On”.

The flat nature and stylistic treatment of the video seemed to be flexible in the sense that it didn’t have to make physical sense and could be executed with static camera green screen shots. The footage could be mapped to flat cards and be moved around. We shot some test footage and made a quick proof of concept.

We found this technique to be functional but limiting.

We eventually realized that we could put movement into the green screen footage and match-move it. Match-moving is a technique in post-production where points are calculated out of the footage and software can use the points to map out digitally what the camera is doing in real life. Then we can use that data to animate a fisheye camera in 3D space where we could do more dynamic and realistic uses of footage in relation to the camera. This was a theory that we decided to test out.

You can see the final result of our test below.

Below is an earlier version where you can see the original footage before it was keyed out.

We matched the real world footage to a digital background. This rough test was the foundation for the work we would then build upon for designing the rest of the show.

Producing our newest show – The Longest Night

April 18, 2012

We’re right in the middle of production on our newest show, tentatively called The Longest Night: A Winter’s Tale.  The show is being created in collaboration with Paperhand Puppet Intervention, a talented crew of people who normally produce live theater with giant puppets, masks, stilt dancing, rod puppets, shadows or silhouettes, and anything else they think will work. They’re wildly popular in our part of North Carolina and we like their stage shows so much that we thought it would be great to put them up on the dome and send them around the world.

For the past six months we’ve been developing ideas, writing scripts, creating storyboards and pre-visualizing a show unlike anything that’s been seen up on the dome. It’s an experiment, that’s for sure. But as it develops, we’re getting more and more excited about it. In the weeks to come, we’re going to be posting updates on When In Dome about the ideas, the process and the people involved. Stay tuned…

Advantages of the Dome-AFL shader

January 23, 2012

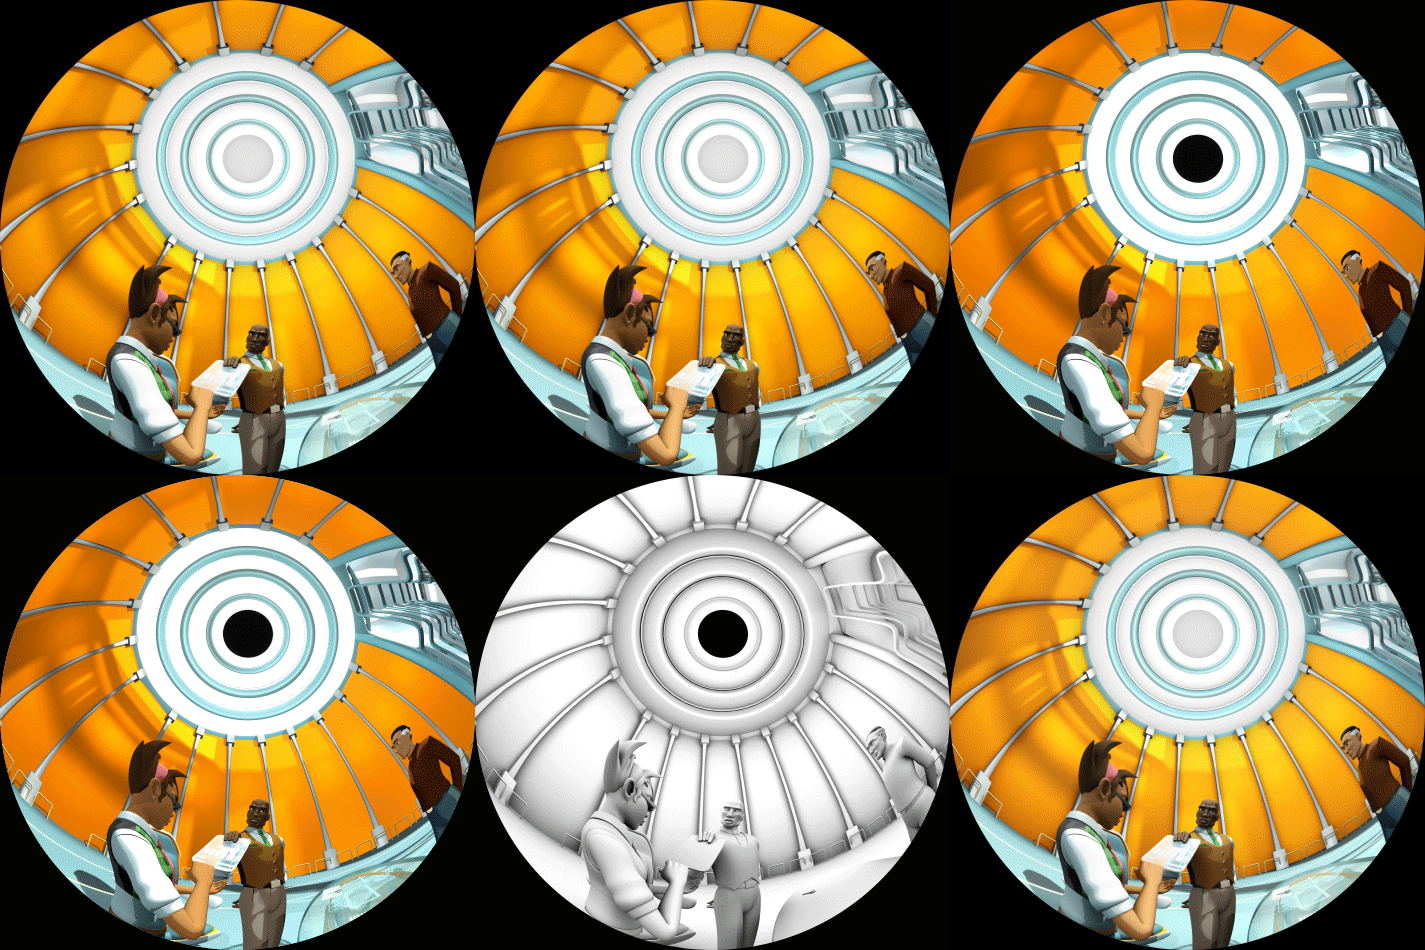
When we started producing dome content 4 years ago, we were working on two different 3d platforms, 3ds max and Maya, and still doing a 5 camera stitch with a hemi-cube. We used the 5 camera stich to create our first two productions, “Earth Moon and Sun” and “Magic Tree House.” On our most recent production, “Solar System Odyssey,” we knew we wanted to try something different. Since we were doing a character driven piece, I took it upon myself to learn Maya. One of the greatest achievements in our recent production was the proper implementation of the DomeAFL shader for mental ray, created by Daniel Ott.

This opened up new doors for rendering and camera techniques. The reduced time of manually stitching together comps freed us up to try and tackle more challenging aspects of production. One of the new features we’d be able to render was an Ambient Occlusion pass that gave our elements new depth.

We no longer were fighting to fit disjointed pieces together before running out of time, but instead were able to refine our work from a rough state to a more polished product.


Recently we upgraded our software from Maya2008 to Maya2012. In that upgrade the shader stopped working. Fortunately, I was able to locate an updated version. The work these fine folks are doing is taking the shader to new dimensions by creating stereoscopic imagery (via Roberto Ziche on http://fulldome.ning.com/forum).


2D Shake in After Effects

January 5, 2012

In a previous post Jim talked about doing a believable shake on the 3D camera itself. With motion blur turned on this can get a bit expensive as far as render times. Sometimes we lean on After Effects to push a shake to even greater extremes.

In this example you’ll see a 2D shake added to enhance the launch sequence. Now on the flat screen the shake doesn’t seem to be all that extreme, but on a dome it feels much more intense. In the last shot of the sequence I did a 3d Camera shake, and felt it needed to be pushed more. Rather than re-animate, we used After Effects and did a 2D wiggle on top of the existing shake to get the desired look.

I do this by using the Wiggle Expression in After Effects. [wiggle(a,b)] where a= frequency of the wiggle per second, and b= how much or amplitude.


I link them to sliders so I can animate how much wiggle I want. Now that I have a wiggler ready to go, I wiggle a null. The location of the  null will be the center point of the wiggle. Once you’re ready to go, parent your footage to the null.

Now depending on how comfortable you are with After Effects I might have lost you. So feel free to watch the following tutorial about wiggle, and its various uses.

Useful modeling script for Maya

November 28, 2011

For a long time I was a 3ds max user, and only in the last year have I switched to Maya. One tool that 3ds max had that was incredibly useful for building hard surface or objects that repeat themselves was the array function. Thankfully, I found a script developed by Ed Caspersen that brings this functionality into Maya.

http://www.creativecrash.com/maya/downloads/scripts-plugins/utility-external/copying/c/array-for-maya

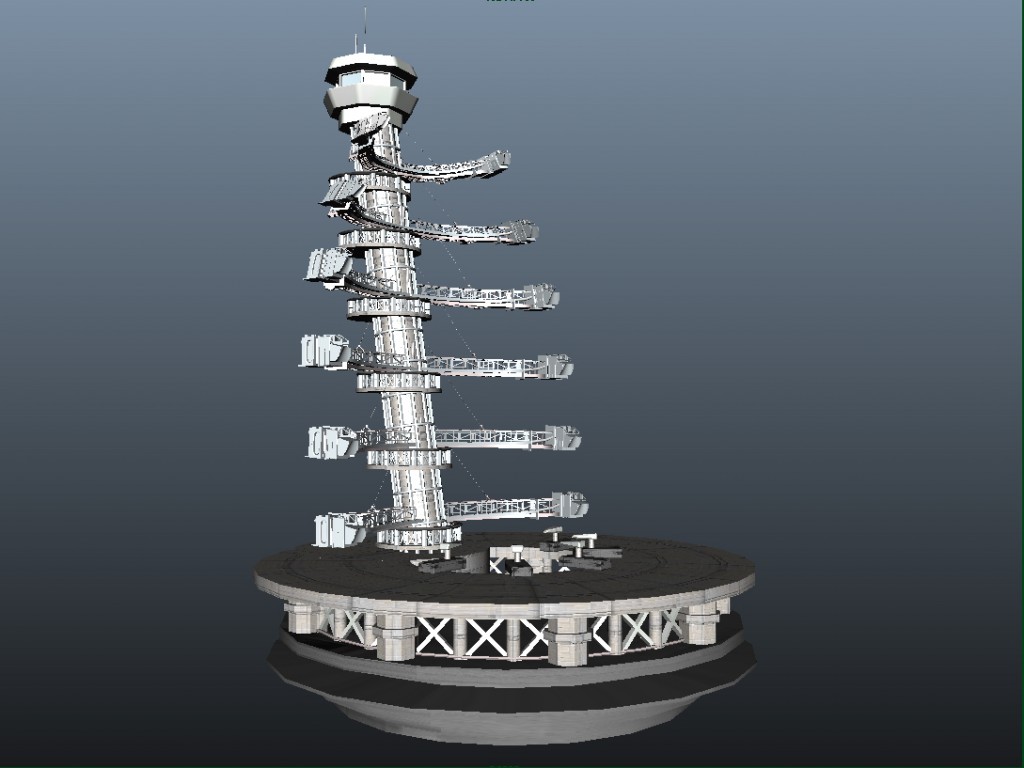
I used this tool to produce the following model of a launch tower in less than 2 hours.

With this you can build a small section of geometric detail and control how it is replicated in any direction, and even set it to get gradually smaller. Working in a 4k immersive format, you can only get so close to textures before you start to see the individual pixels or see the resolution soften. Having the extra geometry helps break up the visual landscape and make up for those instances where textures start to fall apart. It’s perfect for building repeating shapes quickly and adding the much needed detail that the fulldome format demands.


How close is too close?

November 16, 2011

One of the dangers we run into during our productions has been object distortion. It’s most frequently seen when you fly towards or away from a moon or planet. That dreaded bulge is caused by the closest part of the sphere being much closer and therefore much larger than the farther parts of the surface. We have been actively trying to avoid these situations in our shows, as it tends to break the illusion of immersion. Sometimes, however, it is unavoidable, either through demand of the script or storyboards. It is in these cases that we try to make these close-to-camera actions happen as quickly as possible so as not let the mind start to think, “Boy, that really looks strange!”

Here’s an example I quickly threw together showing various distances.

The importance of previz in fulldome production

October 24, 2011

Before diving in, I realize that some of you may not have even heard of the word “previz”. “Previz” or “pre-visualization” is a step in production after storyboarding and before final animation where simple models are laid out in 3D space, basic animation is done and camera moves are locked in place. This allows the director to get a better idea of what the final shot will look like before any intensive work is done on the models or the scene. It also allows camera moves to be changed without needed to do extensive rendering.

Lets back up a bit and put this in context.

Our production process has 4 major steps:
1. Scriptwriting & Concept Art
2. Storyboarding
3. Animatics & Voice-over
4. Previz & Sound Effects
5. Final animation & Score

The difficult moment in any film/tv/dome production is how to move from the animatics phase (essentially a flipbook storyboard with scratch audio) to the final animation stage without really knowing what the shot will look like. A good example of this would be a scene in our latest show, Solar System Odyssey. In the scene, our two heros are trying to escape from the radiation belt around Jupiter, which is causing havoc to their ship. This is what the original storyboard/animatic looked like:

As you can see, there was a lot of proposed camera movement in that shot. The difficulty was knowing how much movement would be most effective to make the scene interesting and tense, but not make the audience confused or nauseous. So we took low-poly renders of the characters, did basic animation on them and put them in a basic textured, low-poly environment. This is what it looked like:

By doing the previz stage, we got some great intel back. We realized that the shot felt dead. There was very little tension in the shot with the current camera moves. And since it’s difficult to build tension through editing, like in a flat screen film, we realized that we’d have to make the camera moves more dynamic. We did this by making the moves faster between rest points and adding dutch angles to the pause points. This was the final product:

Previz is becoming very popular in Hollywood, typically with action shots. We already find it an integral part of our process. Not only does it allow us to more clearly visualize the final look of a shot, but it actually speeds up the production process by preventing us from needing to go back and re-tweak an already rendered shot. For a great video about the importance of previz, check out this video about how it’s being used in Hollywood: