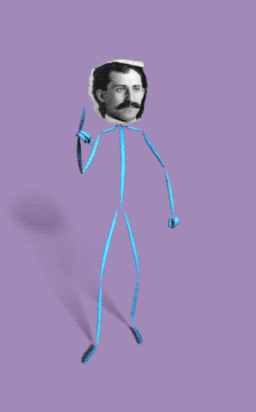
Animating the Wright Brothers was a combination of lessons learned from Solar System Odyssey, and techniques used in Grossology and You. Firstly, during the scriptwriting phase we wanted to limit their on-screen time. One of the biggest hurdles of Solar System Odyssey was too much character animation and too many characters. Second, we wanted to build the characters in a way that was the least work, but still plausible. We decided the best way to accomplish this was to make them “stick figures” that were drawn by a person (who we don’t necessarily need to introduce), with the faces animated to imitate a photograph that was cut-out. This sped up production in two ways:
- With the bodies modeled as pencil lines/sticks, it made skinning the character much faster.
- The faces are animated in After Effects with simple animations compared to Grossology and You. A major problem that happened with Solar System Odyssey was spending time creating hundreds of blendshapes between the three characters, only to not use them in actual production due to time constraints.
The way I rigged the face was using the same technique from Grossology and You, albeit much simpler. Since a bit of the charm is the crudeness of a cut-out, the only secondary motion I added was on Orville for his mustache.
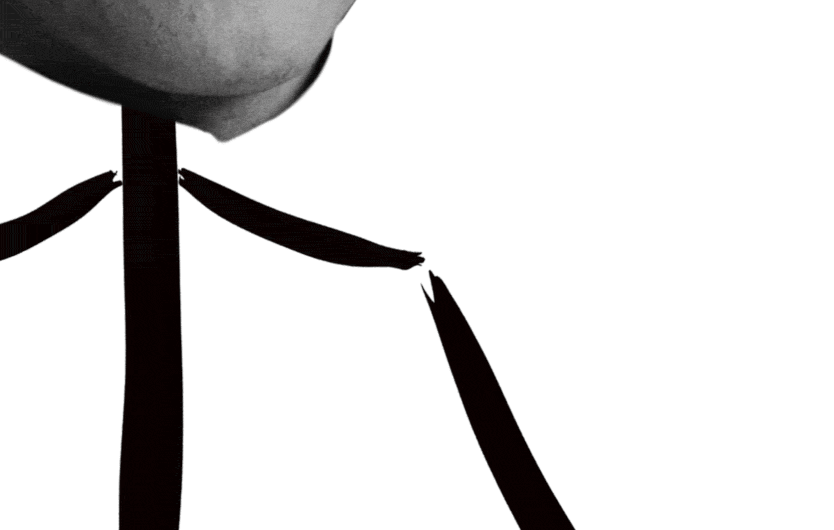
One of the concerns of going with stick figure characters was the arms/legs getting lost when passing in front of other parts of their bodies. I had to do some careful staging when it came to animating, but I made a quick test animation to test the concept.
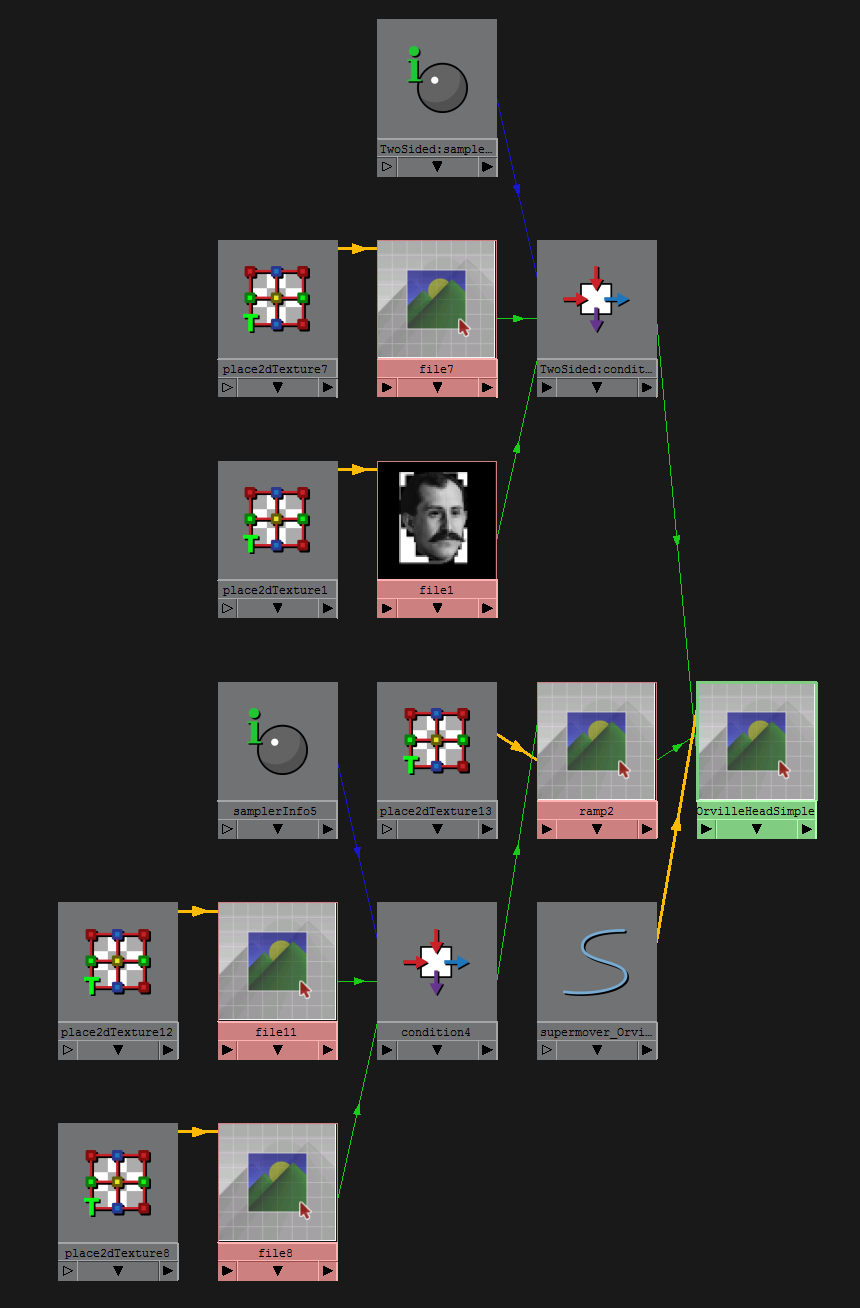
Rigging and texturing the character in Maya was only a little complicated, but not nearly as time consuming as doing the same for the characters in Solar System Odyssey. The most complicated part was rigging the head. I wanted to have control over the twists and bends of the paper head, so I used a lattice driven by clusters and set driven keys.
The eyes are animated in Maya, using set driven keys to move the UVs on a sphere that was flattened. The reason I flattened a sphere instead of just using a flat plane was to distort the iris’ shape and speed when approaching the side of the sphere to give a sense of depth.
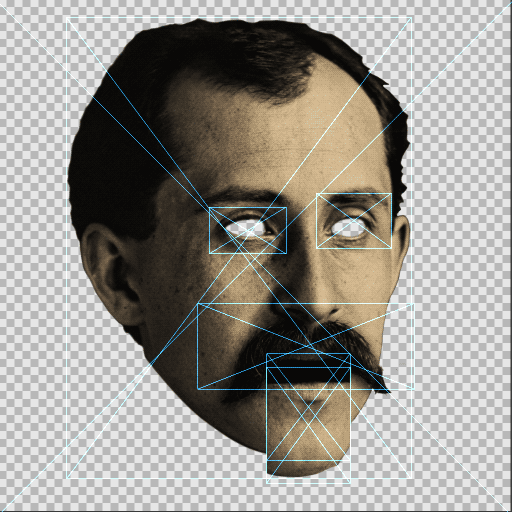
For the faces in Maya, I didn’t want to have two planes squished together for the front and back of the photograph since there would be a good chance they pass-through each other when the head is turned or distorted. The solution for me was to use a single plane and have a shader for their heads use a condition node to show different textures for different sides of the plane. When I hooked up the transparency to the shader it behaved strangely, so I fed it through a ramp node which fixed the problem.
Lastly, for a final touch I wanted to help push the idea that they’re drawings and make them a bit more interesting to look at. I made a quick cycle between blendshapes to make the lines wiggle a little and give them a bit more life. I figured it’d also help in case there were any breathing holds I wanted to do down the line.
Now on to the animating.
The tool I used the most was aTools. It is an immensely useful tool created by Alan Camilo. It has tween machine built in for keying, and made it easy to set up control group pickers for quick selections. You are also able to turn on arcs for your selections to find and fix weird translations. I heavily recommend it.
As for hotkeys, here was my main setup:
J – timeSliderClearKey;
K – timeSliderCopyKey;
L – timeSliderPasteKey false;
Using the keys < and > I can hop between keyframes, using J for deleting them, K for copying them, and L for pasting them.
I also found the hotkey \ useful for zooming in on the viewport without moving the camera. Since sometimes I can’t fall back on using my flat playblasting camera used for animating, I needed to use the fisheye one instead which doesn’t always see everything.
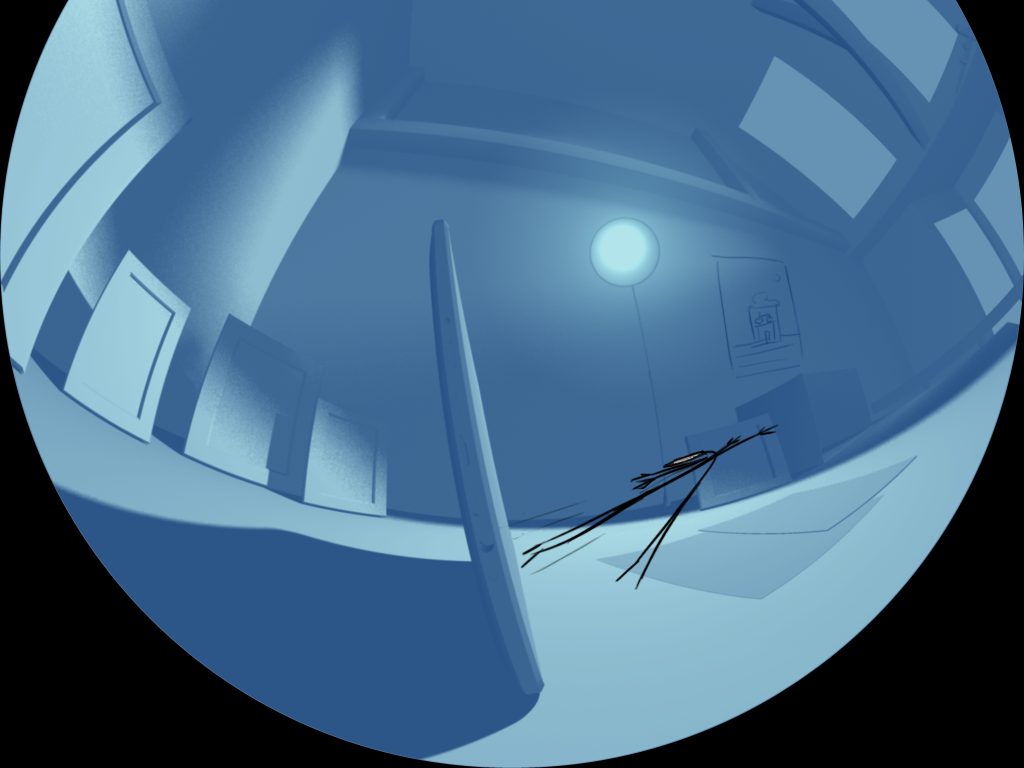
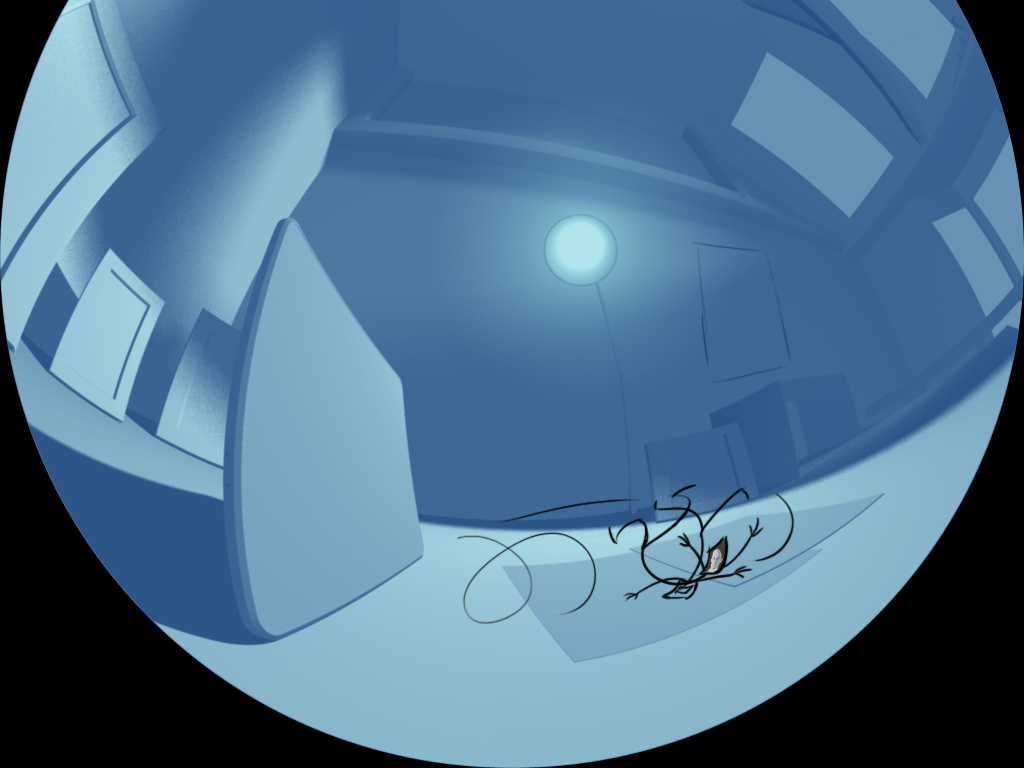
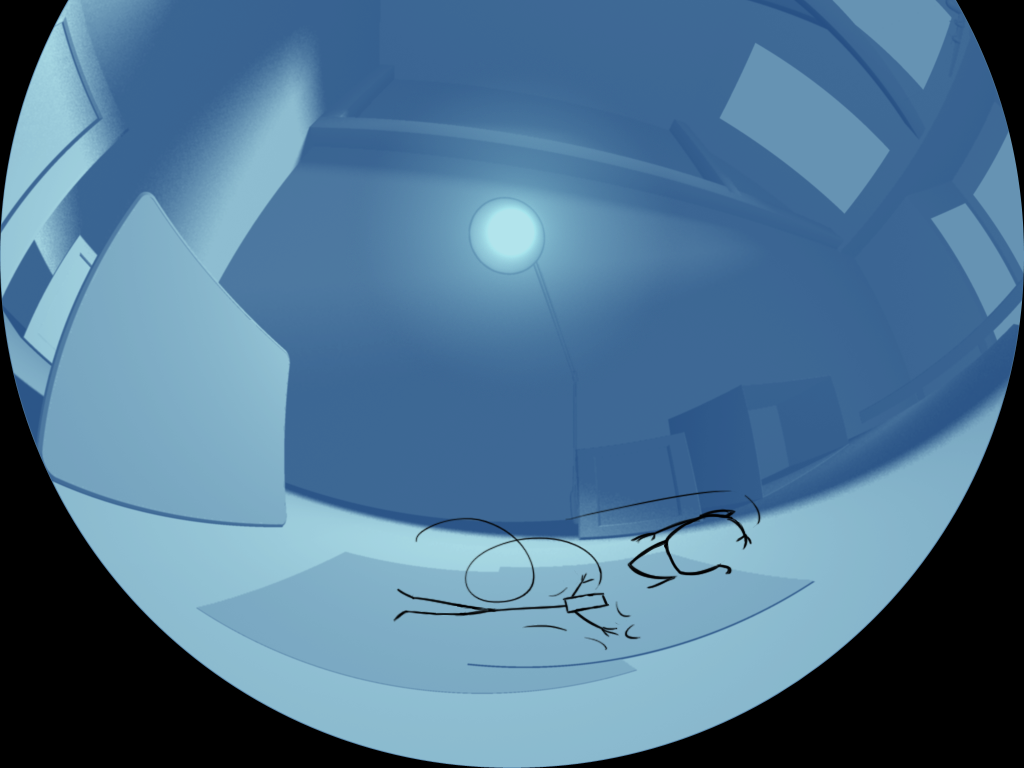
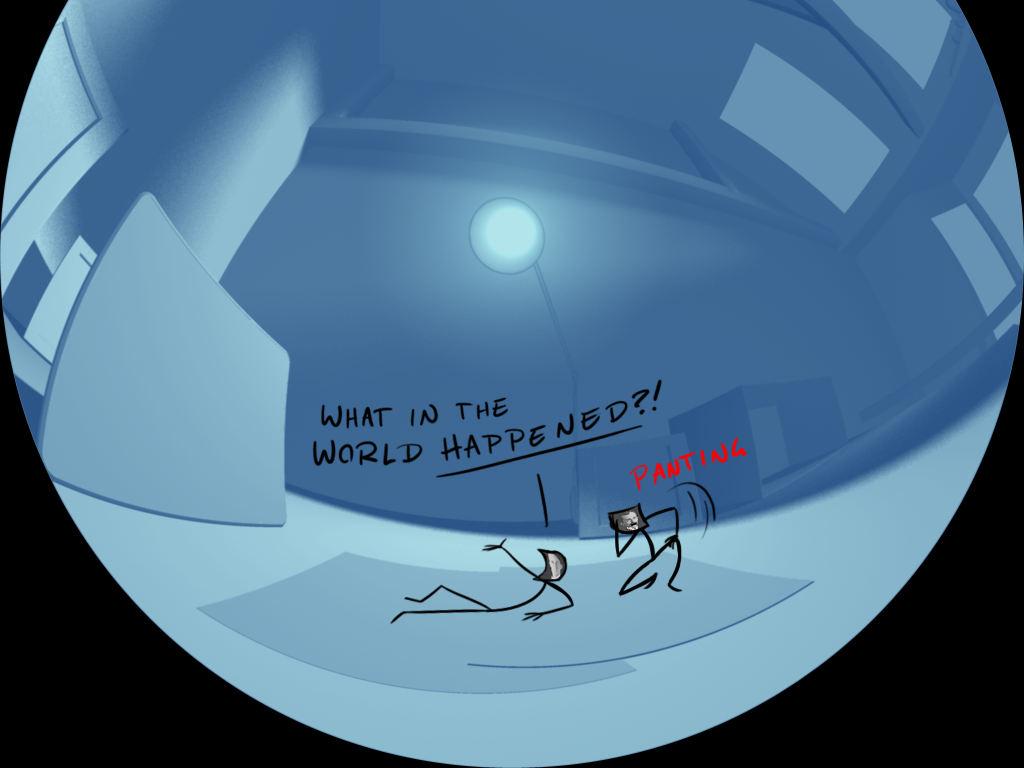
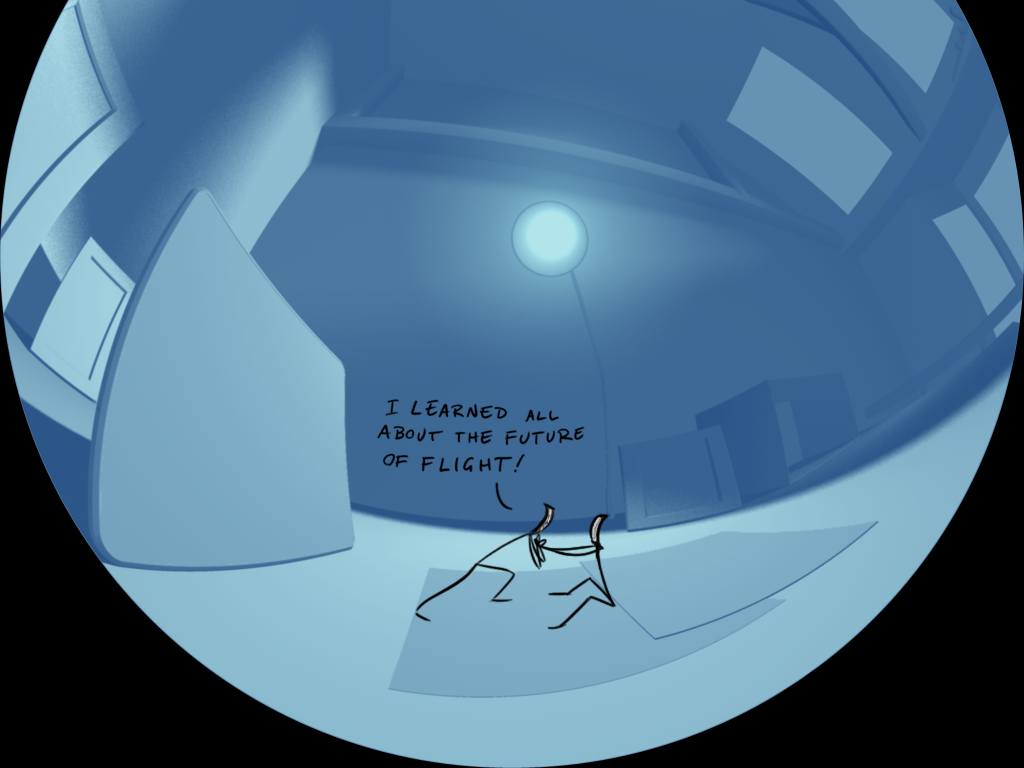
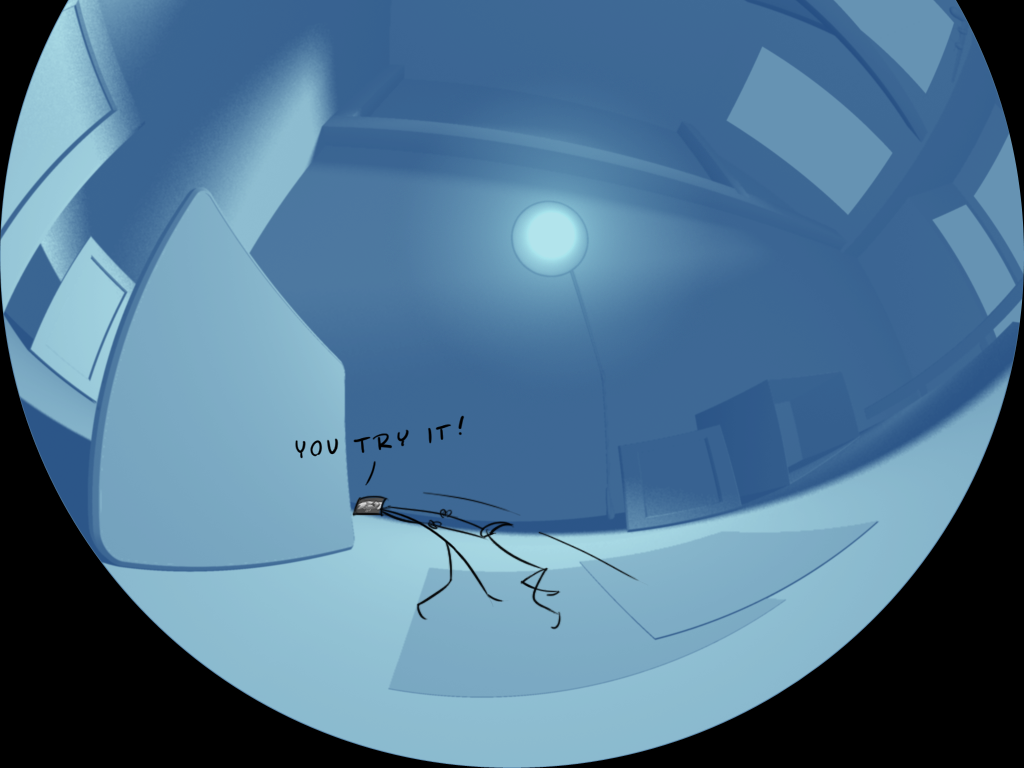
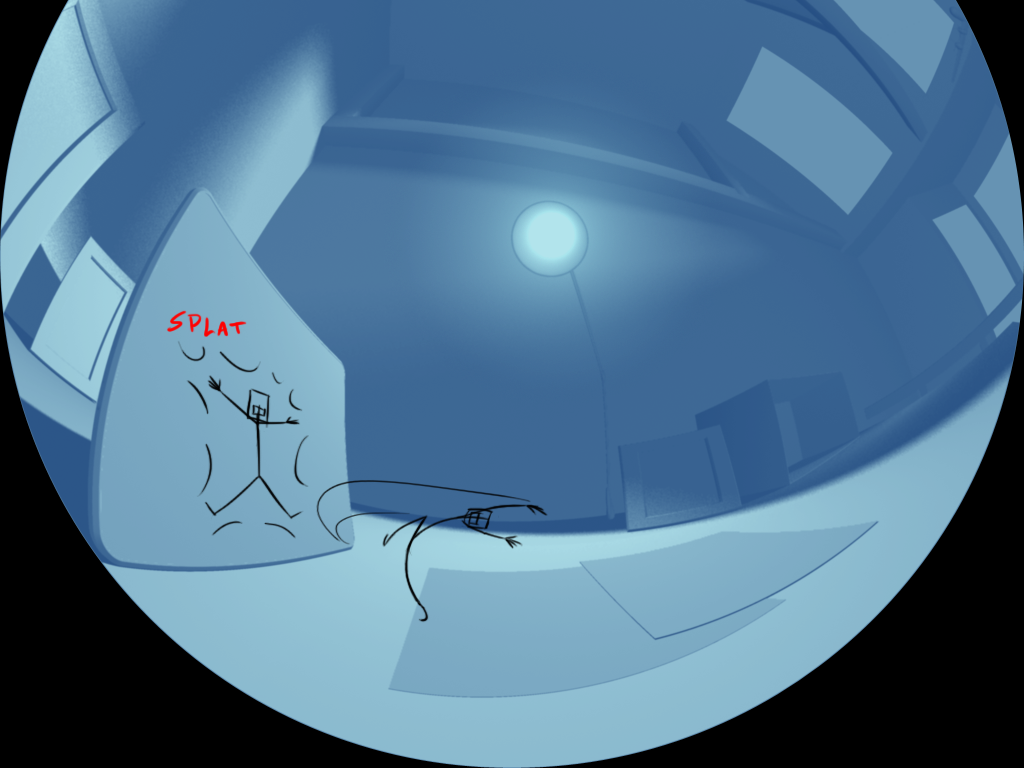
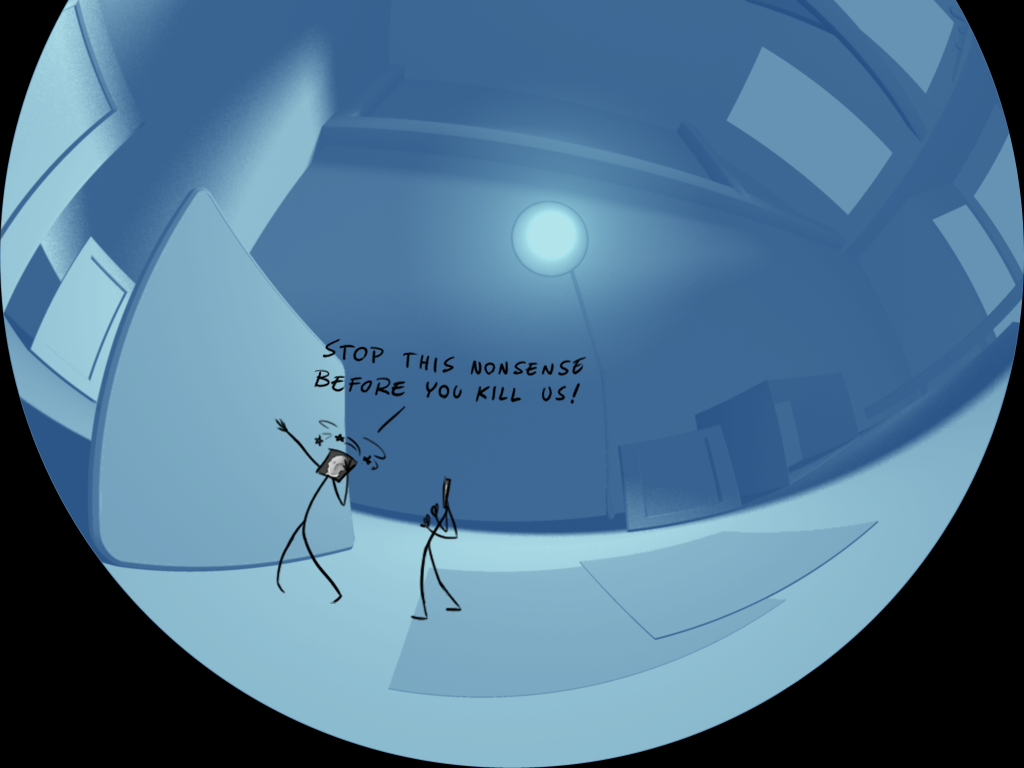
That’s the long and short of it. I did the usual routine of storyboarding, animatic/previz, shot some reference, and then began animating. Unfortunately, even with the shortcuts I did for building the characters I still ran into a bit of a crunch animating, due to rendering and lighting issues with the office that needed to get resolved. I’ll save that one for another post. Due to the office hangup, each scene needed to be completed in a week to a week and a half, but this time the characters were simpler and fewer in number, making this goal much more achievable. I’ll end this post with a short clip and the storyboard that preceded it, to show a bit of the process: